Asscher Engagement Ring Styles
Settings that protect the stone and showcase the square step-cut geometry
Quick answer
Asschers work especially well in solitaires, geometric halos, bezels and Art Deco–inspired three-stone settings. The best setting keeps the clipped-corner outline visible, secures the center stone, and does not bury the step-facet pattern under too much metal or surrounding sparkle.
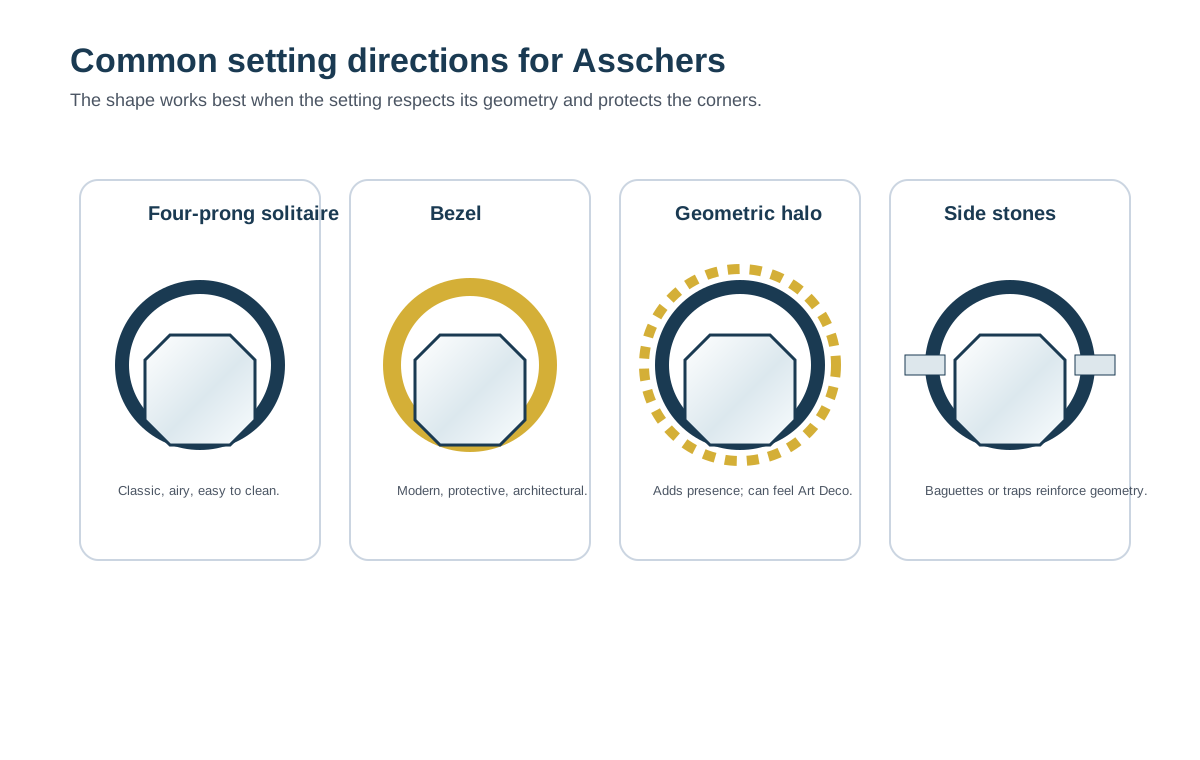
Setting-fit matrix
| Setting | Why it works | Watch for |
|---|---|---|
| 4-prong solitaire | Strong default Keeps the Asscher geometry dominant and makes video/cleaning easy. | Prongs should be positioned for secure corner support without hiding the clipped outline. |
| Bezel | Best protection Frames the square shape and suits modern or Deco design. | A heavy bezel can make a smaller center look visually cramped. |
| Geometric halo | Best for added footprint Echoes the octagonal outline and can make the ring look larger. | Dense pavé can compete with the quieter step-cut flashes. |
| Baguette / trapezoid sides | Best step-cut pairing Extends the architectural look without changing the visual language. | Oversized side stones can make the center look smaller. |
| Very delicate hidden halo | Style-dependent Adds sparkle from the side while leaving the top view cleaner. | Does little for face-up size; inspect height and snag risk. |
Choose the setting by what you want it to do
| If your priority is… | Start with | Trade-off to understand |
|---|---|---|
| See the Asscher's outline clearly | Four-prong solitaire | More exposed girdle than a bezel |
| Maximum everyday protection | Bezel or partial bezel | Metal covers more of the edge |
| Make the center look larger | Halo | The halo can compete with the clean geometry |
| Emphasize Art Deco geometry | Baguette side stones / geometric three-stone | More complex setting and higher total cost |
| Keep the ring visually quiet | Simple solitaire | The center stone must carry the entire look |
Start with the visual goal, not the setting name
An Asscher is a step cut: its appeal comes from broad flashes, repeating geometric contrast and the square-with-cropped-corners silhouette. A setting should reinforce one of three goals—show the stone, protect the stone, or enlarge the overall visual footprint. Trying to maximize all three at once usually creates a heavier ring that obscures the shape.
Solitaire settings: the cleanest way to see the cut
A simple solitaire is the most revealing option because very little competes with the center stone. It is particularly useful when you paid for an attractive windmill pattern and want the diamond’s concentric steps to remain the focal point. A low-to-moderate profile can reduce snagging; a higher basket may allow more side light but also changes how the ring wears.
For larger centers, ask the jeweler specifically how the clipped corners are secured. GIA notes that larger Asschers can use double prongs at beveled corners, giving redundant contact points while keeping each individual prong relatively fine.
Bezel settings: strongest everyday protection
A bezel surrounds much or all of the girdle with metal. That makes it attractive for active wearers and creates a strong geometric border around an Asscher. The trade-off is visual mass: a thick bezel can make a modest center look boxed-in. A refined partial or thin bezel often preserves more of the outline.
Halos: useful when face-up presence matters
A halo can add overall diameter without requiring a larger center stone. For Asschers, octagonal or clipped-corner halos generally look more intentional than round halos because they follow the center’s geometry. The key question is whether the surrounding brilliant-cut melee overwhelms the Asscher’s slower flashes. If the center starts disappearing into a field of sparkle, the setting is doing too much.
Art Deco, baguettes and three-stone designs
Asschers naturally fit geometric design because the cut itself became associated with the Art Deco era. Tapered baguettes, straight baguettes and trapezoid side stones can create a coherent step-cut composition. Keep the side stones subordinate to the center: the purpose is to frame the Asscher, not create three equal focal points.
Metal color and diamond color
White metals can emphasize a cool, icy presentation; yellow or rose gold can make slight warmth feel more intentional. Do not assume a warm metal automatically “hides” color—the prongs, gallery and how much metal is visible around the stone all matter. If you are deciding between adjacent color grades, review the Asscher color guide and compare video in a setting similar to the one you plan to use.
Setting height, wedding bands and maintenance
Before ordering, check whether a wedding band can sit flush, whether the basket exposes the pavilion to impact, and whether the setting requires frequent pavé maintenance. A beautiful head that forces an unwanted curved wedding band is a design compromise worth discovering before purchase.
Practical setting checklist
- Corner security: confirm how the clipped corners are held.
- Outline visibility: make sure prongs or a bezel do not turn the center into a generic square.
- Height: check snagging risk and wedding-band clearance.
- Visual hierarchy: surrounding diamonds should frame rather than overpower the step pattern.
- Cleaning access: step cuts show fingerprints and film readily; consider how easily the pavilion can be cleaned.
- Scale: compare the center’s actual millimeter dimensions with the setting—not carat weight alone.
Compare settings and mountings (affiliate links).